HOWTO: Build a nebulizer chamber for your asthmatic pet
One of our cats has a periodic coughing issue similar to asthma. There are multiple medication options for treating these symptoms, including pills and mist inhalation. Now, I don’t know about YOUR cats, but MINE are none too fond of taking pills, and the ailing cat in question is a large male who has left us with battle scars from pill-related skirmishes over the years. So I voted for the inhalation method.
Our vet prescribed albuterol sulfate for use in a nebulizer. When humans require these types of treatments, the nebulizer is attached to a mask or mouthpiece which the patient uses and inhales the mist for a few minutes. Companies actually DO produce small masks for this purpose for use on a dog or cat, but once again, I laughed at the low probability of success we anticipated in holding a plastic mask on the face of a 13-year-old tomcat for five minutes straight.
Then I thought:
- Cats love to be in boxes
- Boxes can be filled with medicinal mist
- A cat in an enclosed box filled with medicinal mist will necessarily breathe it in
And thus, the cat nebulizer chamber project was born. This project is so simple that almost anyone can complete it successfully. If you’d like to make one yourself, here’s what you’ll need…
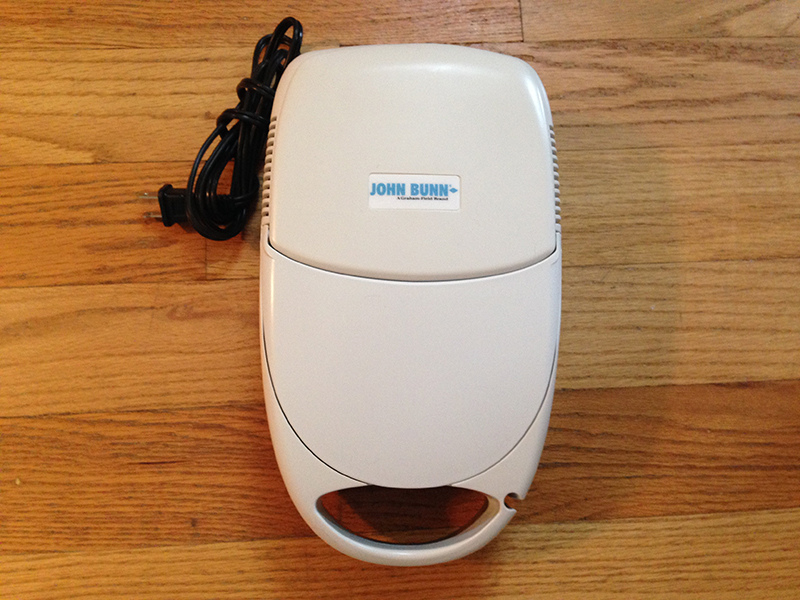 |
A nebulizer compressor. This is essentially a small electric air pump that forces air through a small enclosed vessel (the nebulizer) to turn the liquid medicine you put in there into a mist. The mist is then sent through a hose which is typically attached to a mask or mouthpiece. Nebulizer compressors vary widely in price and features, but for this purpose you really only need an inexpensive unit. I purchased a Nebulite LX2 (JB0112-110) from American Diabetes Wholesale for $36. You can also find good buys on new and used units on eBay.
UPDATE 7/31/2017: The nebulizer I bought for this project is no longer sold by American Diabetes Wholesale. I found a great price on it here and it is still available for purchase as of this update. But you can use any nebulizer you want, and use slightly different fittings if necessary to make it work with your project. |
|
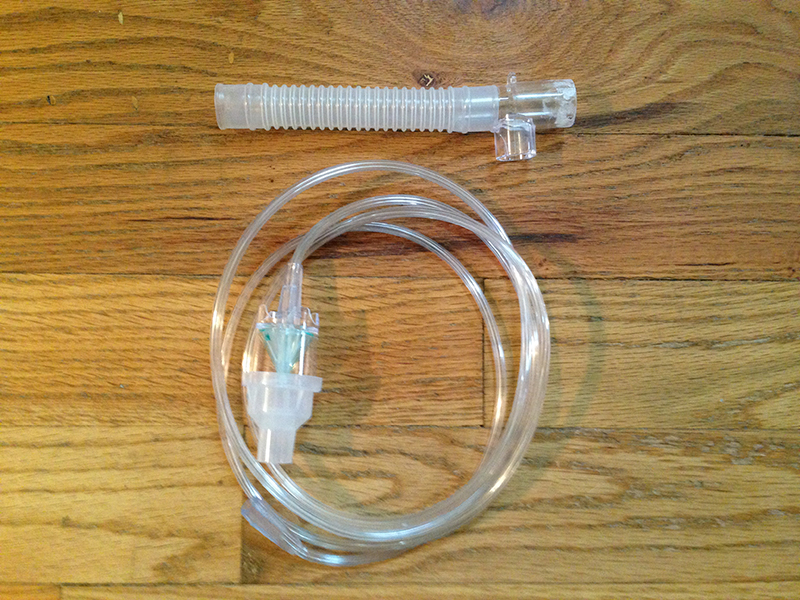 |
Nebulizer “goodies”. Most nebulizer setups include the nebulizer, a mouthpiece, some PVC tubing, a T adapter, and a reservoir tube. We will use most of these parts in this project, so if your compressor did not come with them, you will have to obtain them separately. (The unit I purchased came with all of these parts.) | |
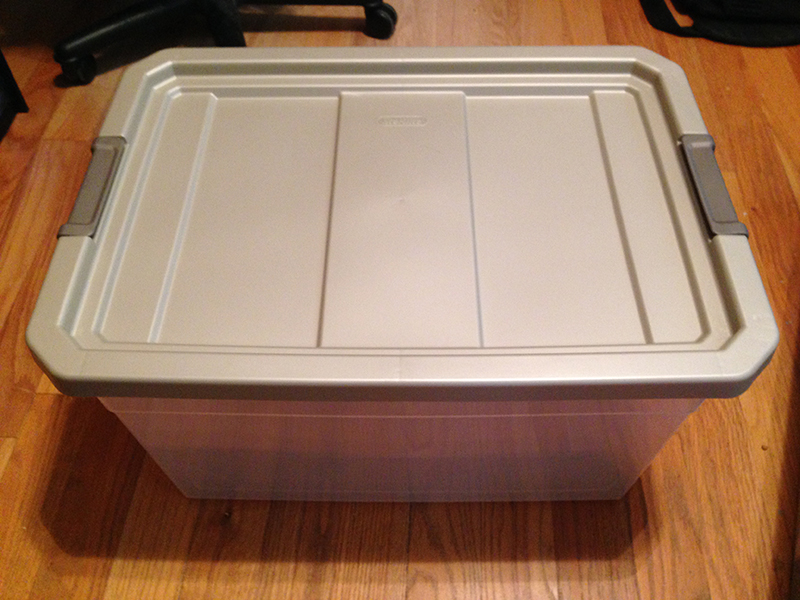 |
A plastic storage bin with a lid. This should be large enough to comfortably hold your pet. I recommend a locking-style lid to keep your pet inside, as some pets may not be keen on the idea of being placed in a closed box for five minutes. I also recommend a clear or lightly-frosted box, as your pet will probably remain calmer if he can see the outside world. I used a 66-quart Sterilite clear storage container with a locking lid (< $20 from Walmart). | |
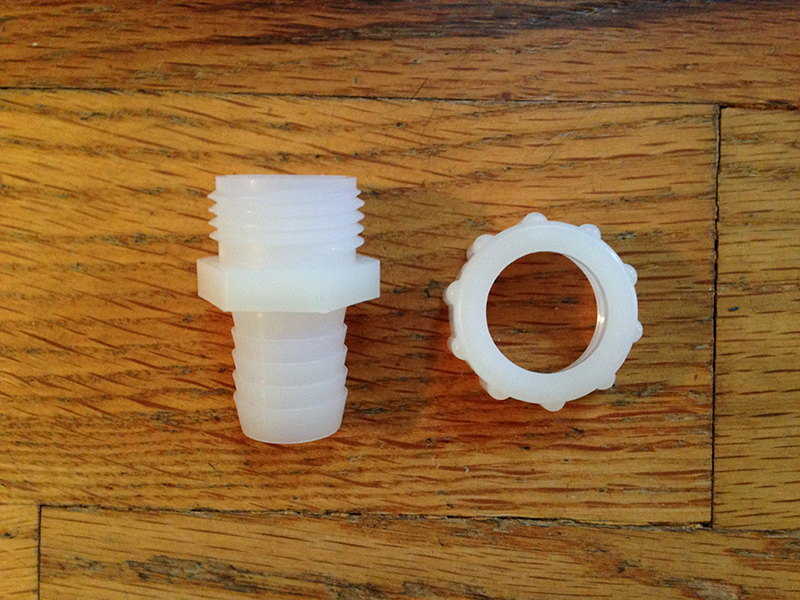 |
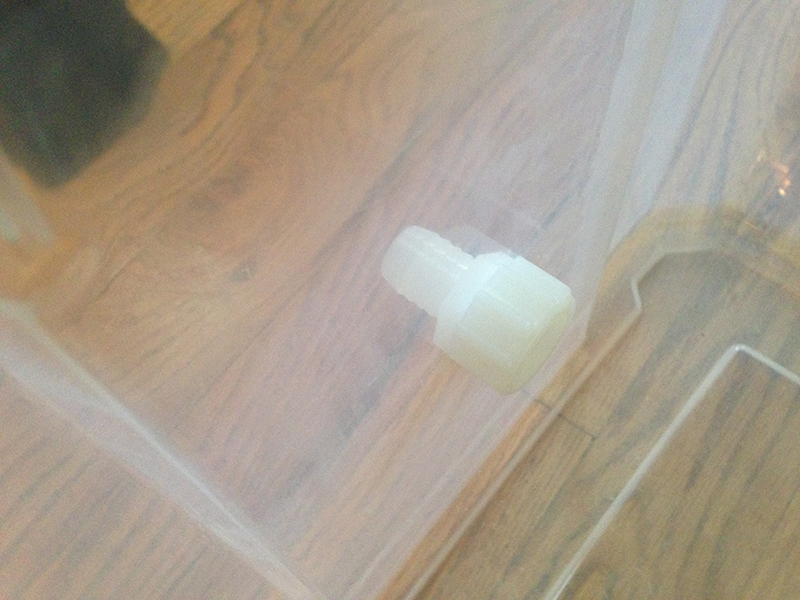
A couple of PVC plumbing fittings. Specifically, these items from Lowe’s: item #645830 and item #645833. We will actually use just the parts shown here from those two items. Total cost for both is about $6.
UPDATE 5/26/2017: It has been brought to my attention that the particular parts I originally used are no longer stocked by Lowe’s, and readers have been asking me for suggestions for alternative parts. I have updated the part numbers and links above to reflect parts that Lowe’s carries as of 5/26/2017. But here’s the bottom line: you need an external connection on your chamber to which to attach the reservoir tube. For “standard” nebulizer kits like the one I bought, the reservoir tube seems to be 3/4″ inside diameter (ID). So what you want is a connector that has a 3/4″ “barb” type connector that the hose will slip onto and you can secure it with the zip tie. You can use nylon parts, PVC parts, brass parts… whatever you can get your hands on. The key is to have that 3/4″ “barb” on one end, and some kind of nut, cap, or other piece that you can screw on “inside the box” to hold the fitting in place. |
|
| A drill with a 7/8″ bit, or a utility knife | ||
| A plastic zip tie | ||
| Some surgical tape or duct tape |
Here’s the procedure:
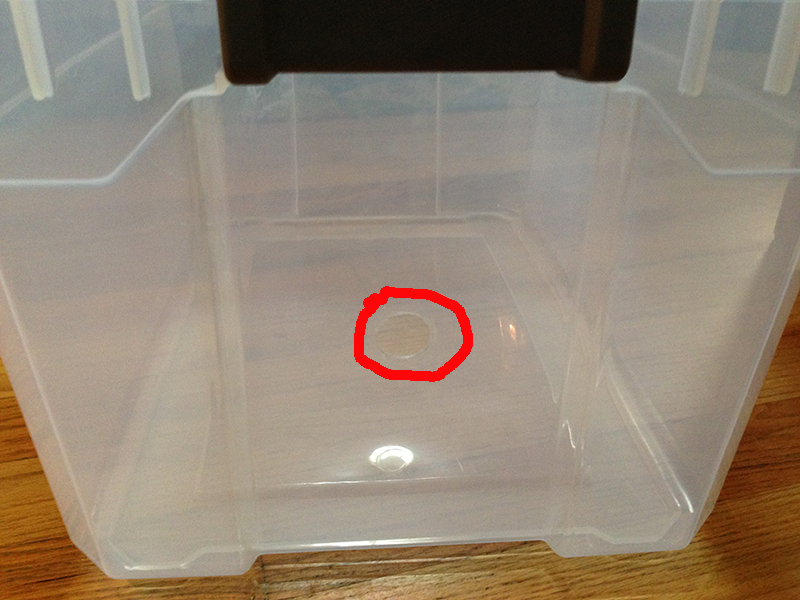 |
Cut a 7/8″ hole in the center of one small end of your box using a drill or utility knife. | |
 |
Insert the threaded end of the PVC fitting from the outside of the box through the hole so the threads are inside and the built-in hex nut is on the outside. Screw on the PVC cap from the inside and tighten to secure the fitting to the box. | |
|
If desired, cut another 7/8″ hole in the center of the opposite end of your box using a drill or utility knife, to allow CO2 to escape. (I’m not convinced that CO2 will be an issue given the size of the box, inherent “leakiness” of the lid, and short treatment duration, but if you have any doubts at all, by all means add this CO2 vent hole.) | |
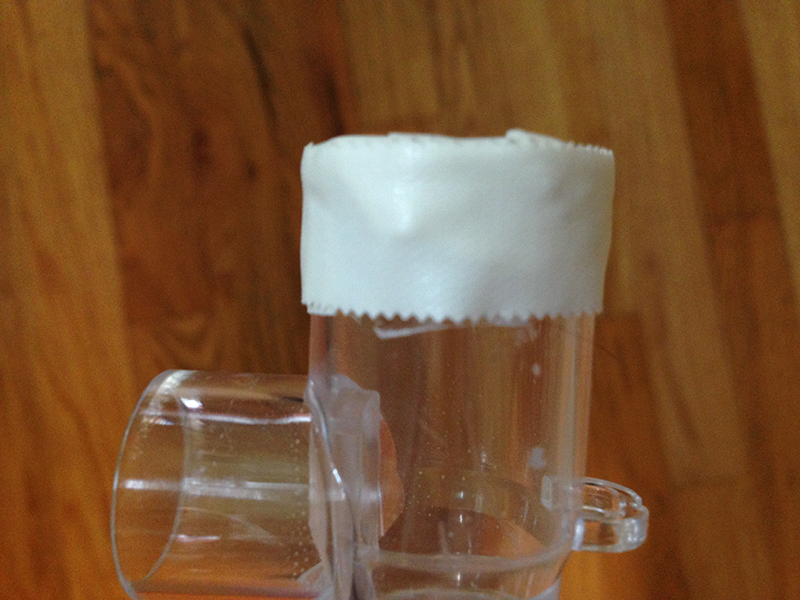 |
Close off one end of the T fitting using surgical tape or duct tape. | |
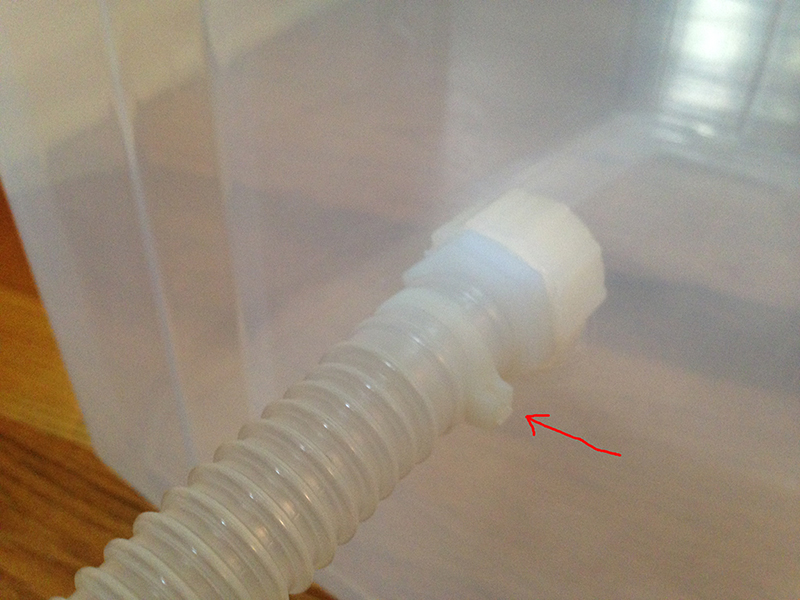 |
If it is not already attached, place one end of the reservoir tube on the open end of the T fitting. Place the other end of the reservoir tube on the PVC fitting you installed on the box. Ensure that the “middle leg” of the T fitting is pointing down. Secure the reservoir tube to the PVC fitting using a zip tie. | |
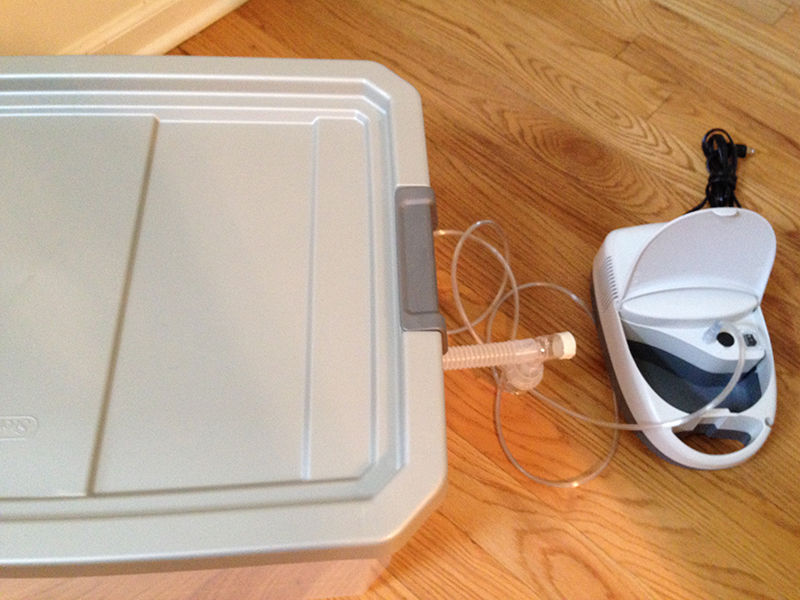 |
Attach the nebulizer to the bottom of the T fitting. Connect it to the nebulizer compressor using the long piece of PVC tubing. |
Congratulations! Your nebulizer chamber is now ready for use. In our case, we placed our cat in the box and secured the lid, then dispensed the prescribed amount of medicine into the nebulizer, locked it closed, and turned on the compressor. After five minutes the treatment was completed.
The very first time we put our cat in the box, he was a little leery of the new, confined space, but by the second treatment he was comfortable with the procedure. Now if he has a coughing attack, administering his medication couldn’t be easier.
This project is simple, inexpensive (about $60 or so), and allows you to treat your pet in the comfort and convenience of your own home.